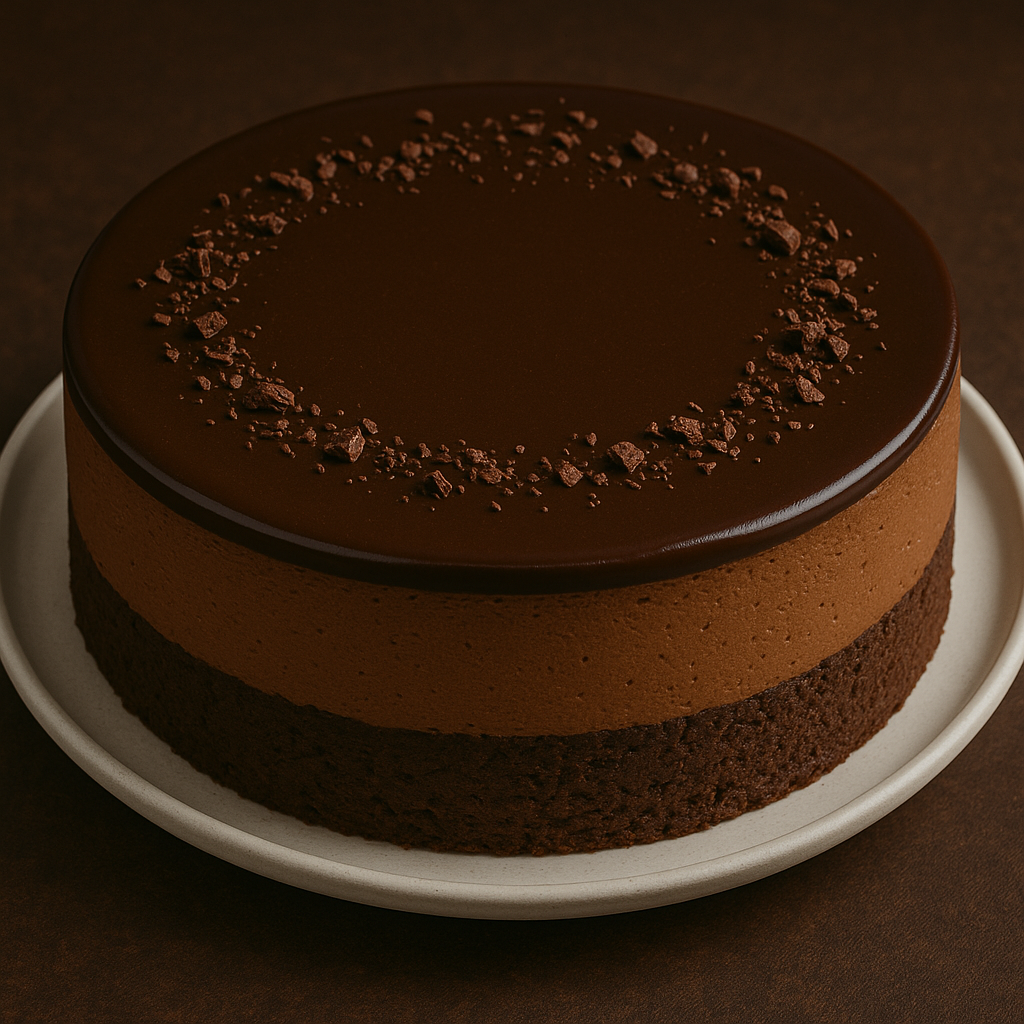
Chocolate lovers, get ready for a treat that will melt your heart and satisfy every sweet tooth—this Chocolate Mousse Cake is the ultimate indulgence! With a rich, velvety mousse layer on top of a decadent, fudgy cake base, this dessert is a dream come true. It’s the perfect combination of airy, creamy mousse and dense, rich cake that will make any occasion feel extra special. Whether you’re celebrating a birthday, hosting a dinner party, or simply treating yourself, this chocolate mousse cake is sure to impress!
Ingredients
For the Cake:
- 1 cup all-purpose flour
- 1/2 cup unsweetened cocoa powder
- 1 teaspoon baking powder
- 1/2 teaspoon baking soda
- 1/4 teaspoon salt
- 1/2 cup unsalted butter, softened
- 3/4 cup granulated sugar
- 2 large eggs
- 1 teaspoon vanilla extract
- 1/2 cup milk
- 1/4 cup boiling water
For the Chocolate Mousse:
- 8 oz semi-sweet chocolate, chopped
- 1 cup heavy cream
- 1 teaspoon vanilla extract
- 1/4 cup powdered sugar
For Garnishing:
- Whipped cream
- Chocolate shavings or cocoa powder
- Fresh berries (optional)
Instructions
Prepare the Cake:
- Preheat your oven to 350°F (175°C). Grease and line a 9-inch round cake pan with parchment paper.
- In a medium bowl, whisk together the flour, cocoa powder, baking powder, baking soda, and salt. Set aside.
- In a large bowl, cream the softened butter and granulated sugar together until light and fluffy, about 3-4 minutes.
- Beat in the eggs one at a time, followed by the vanilla extract. Continue to mix until fully combined.
- Gradually add the dry ingredients to the wet mixture, alternating with the milk. Start and end with the dry ingredients. Mix until just combined.
- Stir in the boiling water, which will thin out the batter and make it more pourable.
- Pour the batter into the prepared cake pan and bake for 25-30 minutes, or until a toothpick inserted into the center comes out clean.
- Allow the cake to cool in the pan for 10 minutes before transferring it to a wire rack to cool completely.
Make the Chocolate Mousse:
- While the cake is cooling, make the chocolate mousse. Place the chopped semi-sweet chocolate in a heatproof bowl.
- In a small saucepan, heat the heavy cream over medium heat until it just begins to simmer. Pour the hot cream over the chopped chocolate and let it sit for 1-2 minutes.
- Stir the mixture until the chocolate is fully melted and smooth. Add the vanilla extract and powdered sugar, then whisk until combined.
- Let the chocolate mixture cool slightly before refrigerating it for 1-2 hours, or until it firms up a bit.
Assemble the Cake:
- Once the cake has cooled completely, slice it horizontally into two layers. If the cake has domed on top, use a serrated knife to level it.
- Place the bottom layer of the cake on a serving platter or cake stand. Spread a generous layer of chocolate mousse over the cake.
- Place the second layer of cake on top of the mousse, gently pressing down to ensure it sticks.
- Spread the remaining chocolate mousse over the top layer of cake, smoothing it out with a spatula.
Garnish and Serve:
- To garnish, top the chocolate mousse cake with whipped cream, chocolate shavings, cocoa powder, or fresh berries for an added touch of elegance.
- Refrigerate the cake for at least 2 hours before serving to allow the mousse to set and the flavors to meld.
- Slice and serve, enjoying the rich layers of decadent cake and creamy mousse.
Final Thoughts
This Chocolate Mousse Cake is the definition of indulgence. With its light, airy mousse and rich, chocolatey cake, it’s the perfect dessert to wow your guests or treat yourself to something special. The smooth mousse pairs perfectly with the fudgy cake, creating a melt-in-your-mouth experience that’s impossible to resist. Whether it’s a special celebration or just a cozy treat, this dessert is sure to be a hit!
Stick around—every visit tastes better than the last at The Buttered Bliss.
-
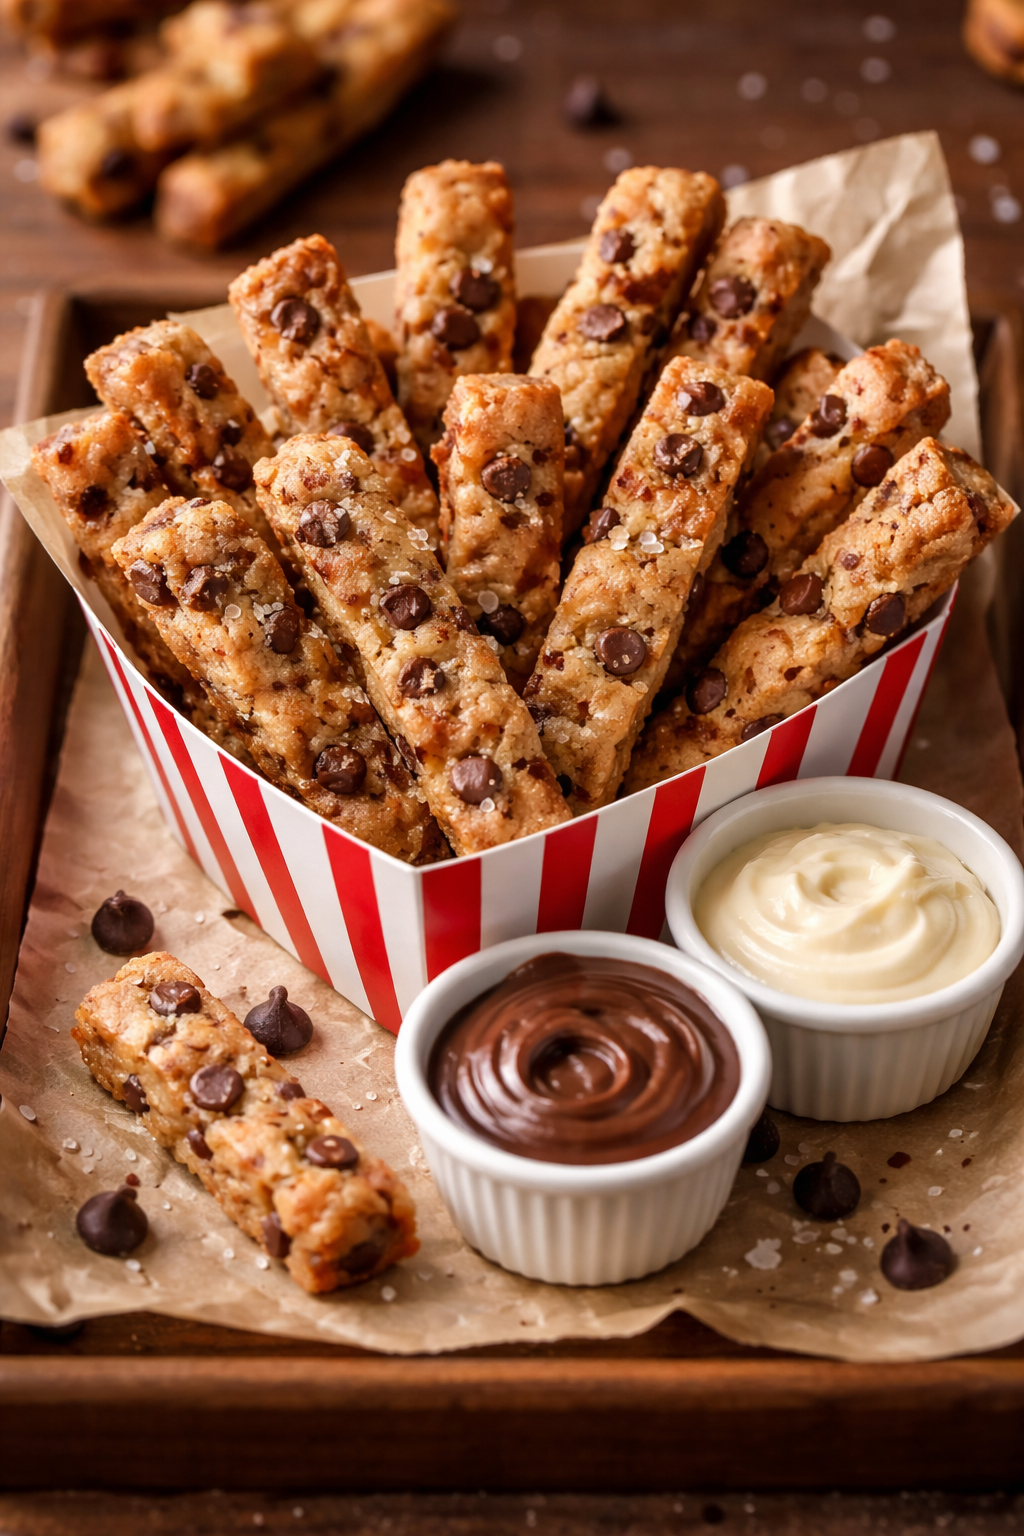
Brown Butter Chocolate Chip Cookie Fries Recipe: Crispy, Chewy, Bakery-Style Dessert
If you’re looking for a unique twist on classic chocolate chip cookies, brown butter chocolate chip cookie fries are one of the best desserts to […]
-
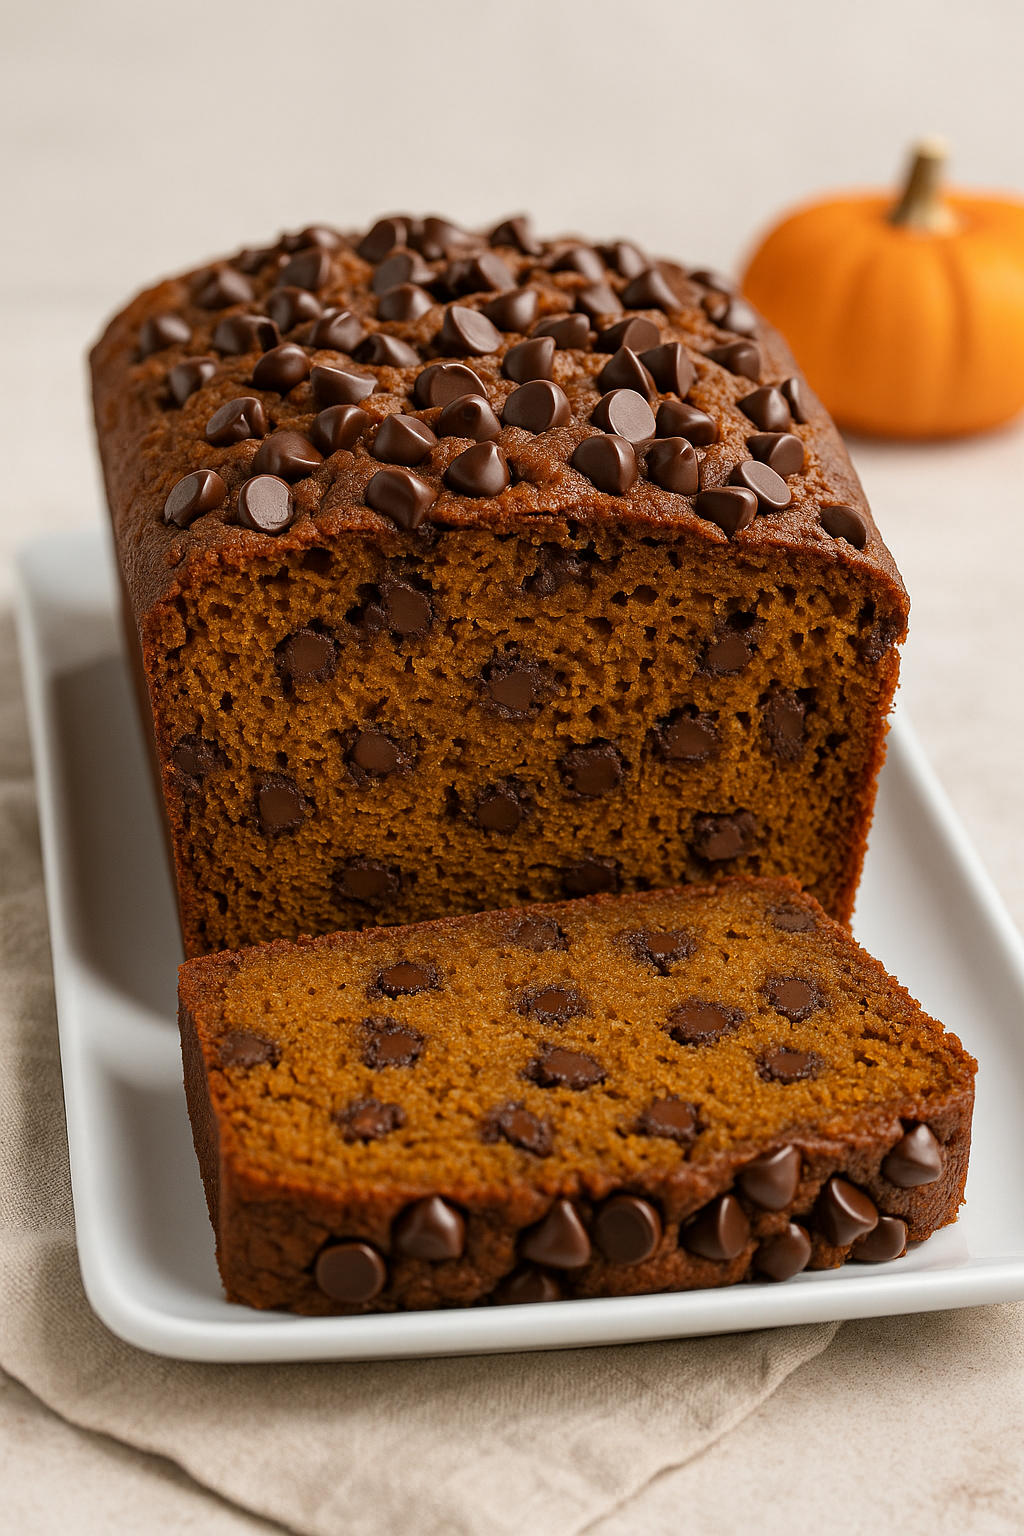
Chocolate Chip Pumpkin Bread: The Fall Loaf That’s Everything You Need This Season
What Happens When Pumpkin Meets Chocolate? Magic. If there’s one loaf that deserves a permanent spot in your fall baking rotation, it’s chocolate chip pumpkin […]
-
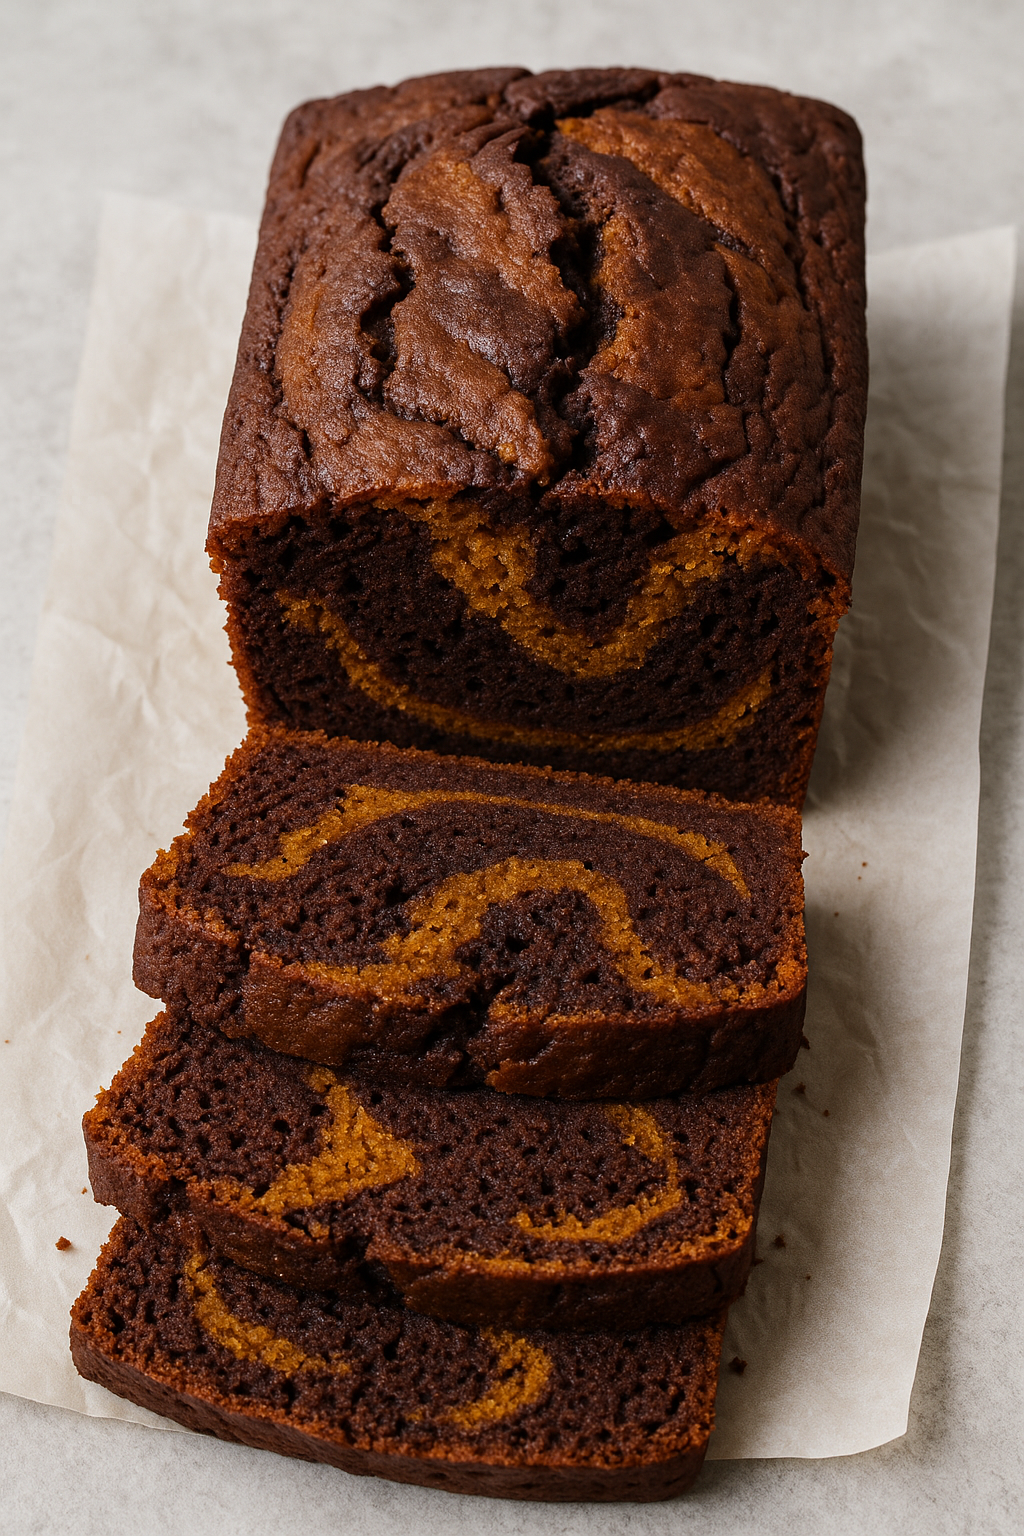
Pumpkin Chocolate Swirl Loaf—Warm Spices Meet Rich Cocoa in a Marbled Fall Favorite
Pumpkin Chocolate Swirl Loaf is the kind of treat that turns a chilly day into something warm and cozy. With earthy pumpkin puree, bold spices, […]
-
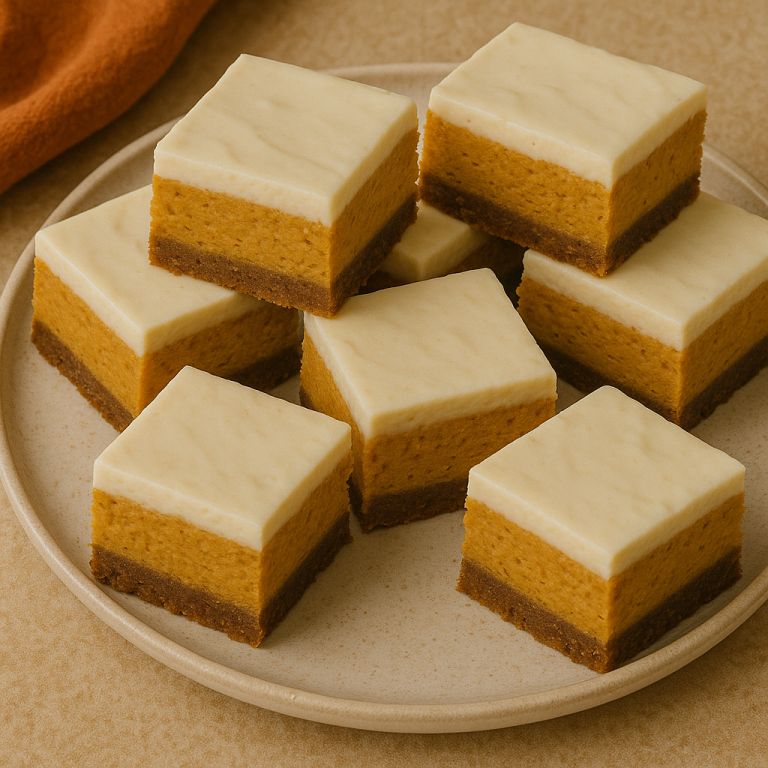
Pumpkin Cheesecake Bars—Creamy, Spiced, and Fall-Ready
Pumpkin Cheesecake Bars are the perfect answer when you want a dessert that’s festive, cozy, and totally indulgent without the effort of a full cheesecake. […]
-
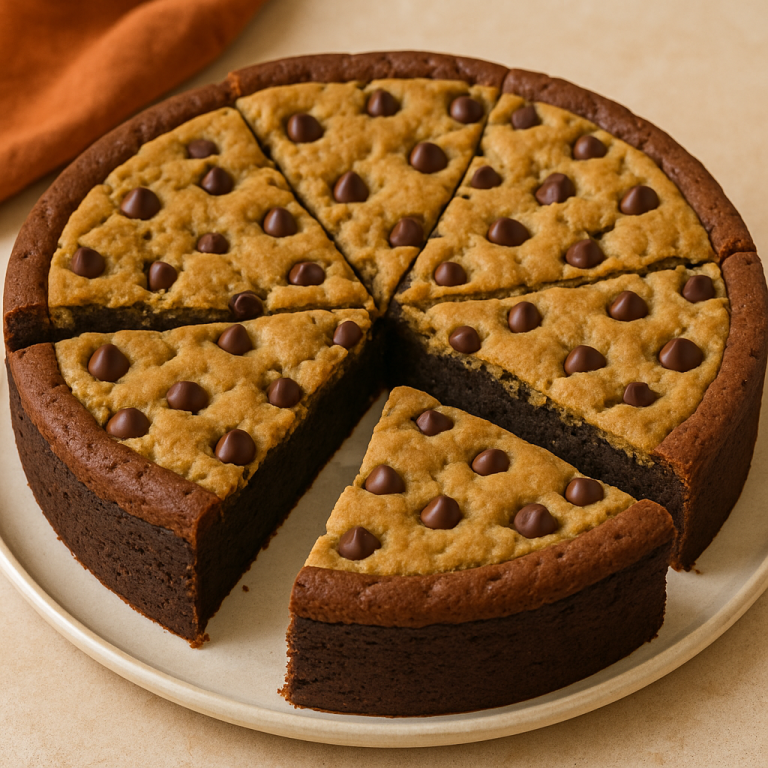
Brownie Cookie Pie—Chewy, Fudgy, and Totally Over-the-Top
Brownie Cookie Pie is what happens when two dessert icons merge into one epic creation. Imagine the gooey center of a brownie and the crispy-edged, […]
-
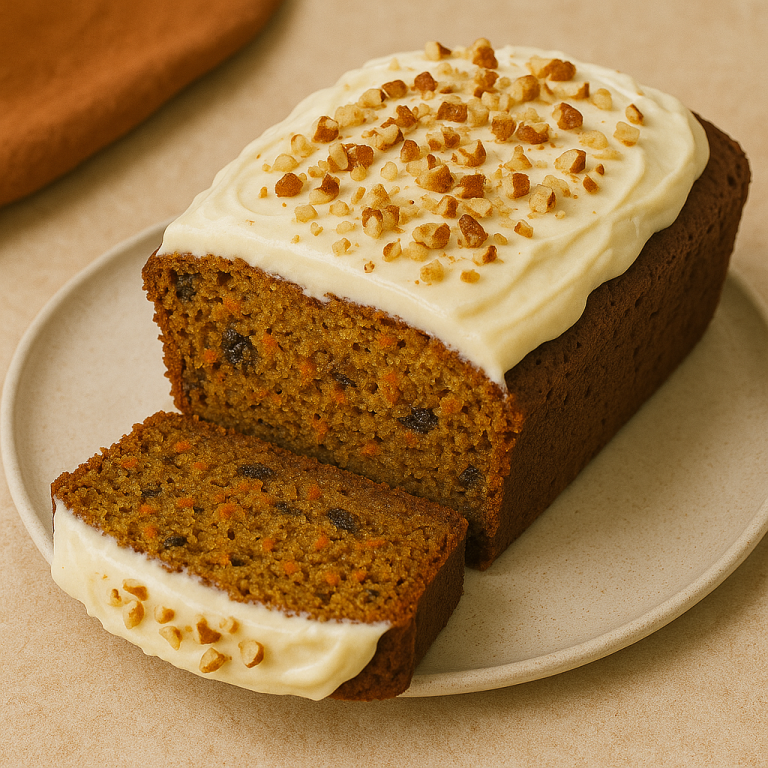
Carrot Cake Loaf—Moist, Spiced, and Rich with Flavor
Carrot Cake Loaf is the ultimate cozy treat—moist, tender, and warmly spiced with cinnamon, nutmeg, and ginger. Packed with freshly grated carrots and a hint […]


Related Posts