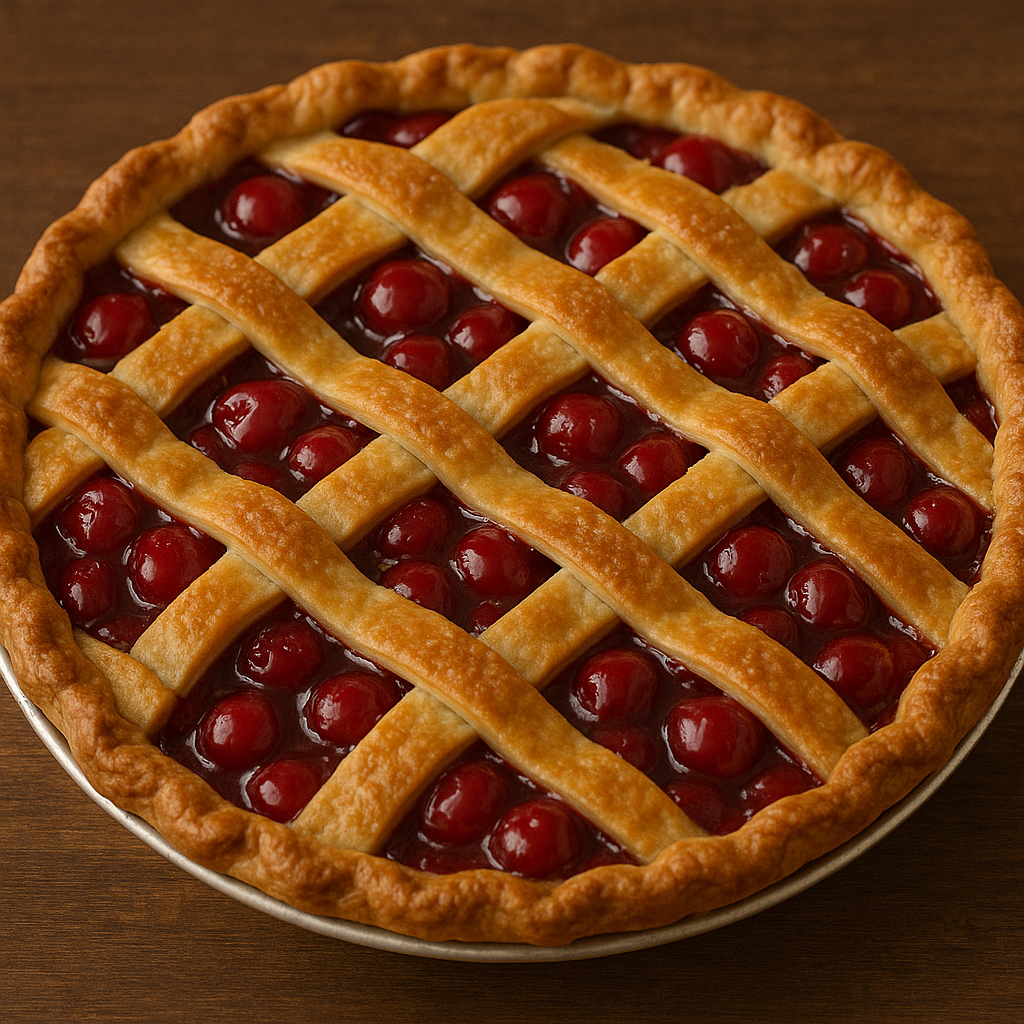
Cherry pie is the kind of dessert that feels like a slice of summer no matter the season. With its flaky golden crust, sweet and tangy cherry filling, and that signature ruby-red color, it’s a timeless comfort dessert that belongs on every table from holiday feasts to weekend dinners.
This recipe skips the canned filling and goes full flavor with fresh or frozen cherries simmered into a jammy, just-set filling that slices like a dream. Whether you top it with vanilla ice cream, whipped cream, or enjoy it plain and still-warm, this cherry pie is a celebration of fruit, butter, and tradition.
Why This Cherry Pie Is a Forever Favorite
It’s got everything you want in a homemade pie—flaky, all-butter crust that holds its shape, a filling that’s sweet but still lets the tart cherries shine, and the kind of lattice top that makes you feel like a pie master even if you’re new to baking. Unlike overly syrupy versions, this filling sets perfectly with the help of cornstarch and just enough lemon juice to keep things bright. It’s comforting, nostalgic, and hands-down one of the most rewarding bakes you’ll ever pull from the oven.
Ingredients
For the All-Butter Pie Crust
• 2½ cups all-purpose flour
• 1 tsp salt
• 1 tbsp sugar
• 1 cup unsalted butter, cold and cubed
• 6–8 tbsp ice water
For the Cherry Filling
• 5 cups fresh or frozen pitted cherries
• ¾ cup granulated sugar
• ¼ cup brown sugar
• ¼ cup cornstarch
• 1 tbsp lemon juice
• ½ tsp almond extract
• ½ tsp vanilla extract
• Pinch of salt
For Assembly
• 1 egg, beaten (for egg wash)
• 1 tbsp coarse sugar (for sprinkling)
Instructions
- To make the crust, whisk together flour, salt, and sugar in a large bowl.
- Cut in cold butter using a pastry cutter or your fingers until the mixture resembles coarse crumbs.
- Gradually add ice water, 1 tablespoon at a time, mixing just until the dough holds together.
- Divide into two discs, wrap in plastic wrap, and chill for at least 1 hour.
- For the filling, combine cherries, both sugars, cornstarch, lemon juice, extracts, and salt in a saucepan.
- Cook over medium heat, stirring constantly, until mixture thickens and coats the back of a spoon—about 10 minutes.
- Remove from heat and let cool slightly while you roll out the crust.
- Preheat oven to 400°F. Roll out one dough disc and fit into a 9-inch pie dish. Trim edges, leaving about ½ inch overhang.
- Pour in the cooled cherry filling and spread evenly.
- Roll out second dough disc and cut into strips for a lattice top, or cover whole and cut slits for steam.
- Crimp edges and brush top crust with egg wash. Sprinkle with coarse sugar.
- Place pie on a baking sheet and bake for 20 minutes at 400°F, then reduce temperature to 350°F and bake an additional 30–35 minutes, until the crust is golden and filling is bubbling.
- Let cool completely before slicing so the filling sets properly.
Tips for the Best Cherry Pie
If using frozen cherries, thaw and drain excess liquid before cooking. Don’t skip the almond extract—it adds that signature cherry pie depth. Always cool the filling before pouring into the crust to prevent soggy bottoms. Use a pie shield or foil if the crust browns too quickly. Let the pie cool at least 3 hours before slicing.
Variations
Add raspberries or blackberries for a mixed berry twist. Make a crumble topping instead of a lattice. Use sour cherries for a more tart flavor and add an extra ¼ cup sugar. Drizzle with melted chocolate for a dessert upgrade.
Storage
Store covered at room temperature for 1 day, then refrigerate for up to 4 more. Reheat slices in the oven at 300°F for 10 minutes or enjoy cold. Freeze fully baked pie wrapped tightly for up to 2 months—thaw overnight before serving.
Final Thoughts
Cherry pie is one of those desserts that turns simple ingredients into something truly special. With its rich, buttery crust and that bright, jammy cherry center, every bite feels nostalgic and homemade in the best way. Whether it’s part of your holiday lineup or just a weekend baking project, this pie is guaranteed to impress.
Stick around—every visit tastes better than the last at The Buttered Bliss.
Related Posts