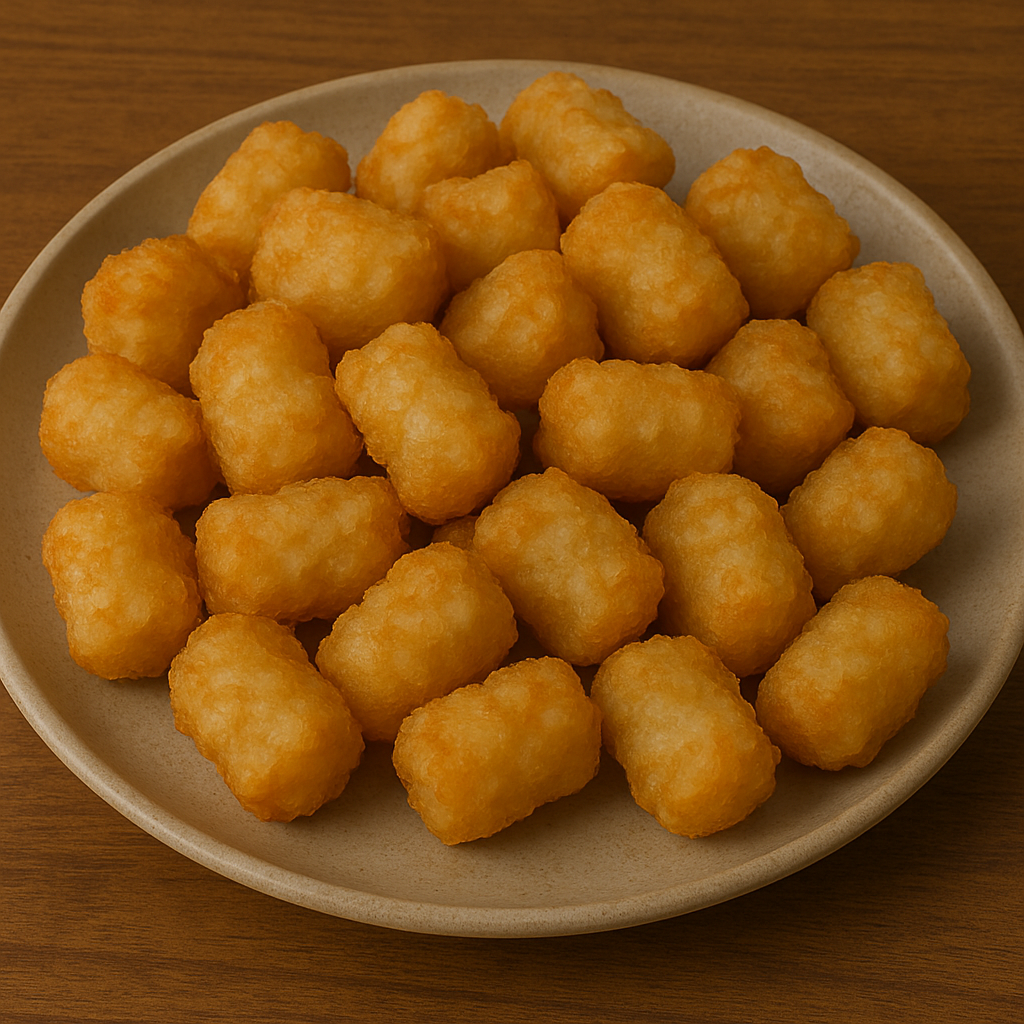
Tater tots are a classic comfort food that never goes out of style. Golden brown on the outside, soft and fluffy on the inside, and bite-sized for the perfect snackable crunch, these little potato nuggets are a favorite from childhood that still hits every time. While the frozen kind is convenient, nothing compares to making them from scratch. Freshly shredded potatoes seasoned just right, formed into perfectly crisp cylinders, and either pan-fried, oven-baked, or air-fried to golden perfection—this is comfort food taken to the next level.
Whether you’re pairing them with breakfast, loading them up with toppings for a party platter, or dipping them into ketchup straight from the tray, homemade tater tots are the crispy, craveable side dish you didn’t know you needed.
Why These Homemade Tots Are Worth It
Tater tots are all about texture—crunchy, crispy edges with a tender, seasoned center—and homemade lets you control both. They’re made with simple ingredients, and they freeze beautifully for future meals. Plus, you can customize the flavor however you want—add garlic, cheese, herbs, or even spice them up with jalapeño. They’re budget-friendly, kid-approved, and easy to batch cook for breakfast spreads, brunch boards, or game-day snacks. Once you try these from scratch, you’ll never go back to the bagged version.
Ingredients
• 2 large russet potatoes, peeled
• 2 tbsp all-purpose flour
• 1 tsp garlic powder
• 1 tsp onion powder
• ½ tsp salt
• ¼ tsp black pepper
• Oil for frying or spraying (depending on cooking method)
• Optional: ¼ cup shredded cheddar, 1 tbsp chopped parsley, pinch of paprika
Instructions
- Fill a pot with water and bring to a boil. Add peeled potatoes and parboil for 6–7 minutes. They should be slightly softened but not fully cooked.
- Drain the potatoes and let them cool completely, then use a box grater to shred them into fine pieces.
- Transfer the shredded potatoes to a clean towel or cheesecloth and squeeze out as much moisture as possible. This helps the tots crisp up.
- In a large bowl, mix the shredded potatoes with flour, garlic powder, onion powder, salt, and pepper. Add any extras like cheese or herbs if using.
- Scoop tablespoon-sized amounts of the mixture and form them into small cylinders or ovals. Place them on a parchment-lined baking sheet.
- To fry: Heat oil in a deep skillet or fryer to 375°F. Fry tots in batches for 3–4 minutes until golden and crispy. Drain on paper towels and sprinkle with extra salt.
- To bake: Preheat oven to 425°F. Spray tots generously with oil and bake for 25–30 minutes, flipping halfway, until crispy and golden.
- To air fry: Preheat air fryer to 400°F. Spray tots with oil and cook in batches for 12–15 minutes, shaking halfway through, until crisp and golden brown.
Tips for the Best Homemade Tots
Make sure to squeeze out as much moisture as possible from the shredded potatoes—it’s key for getting crispy edges. Don’t skip the flour—it helps bind the tots together so they don’t fall apart while cooking. For extra flavor, toss the cooked tots in garlic butter or sprinkle with parmesan and herbs. You can double or triple the batch and freeze the shaped tots before cooking—just fry or bake them straight from frozen.
Topping Ideas and Serving Suggestions
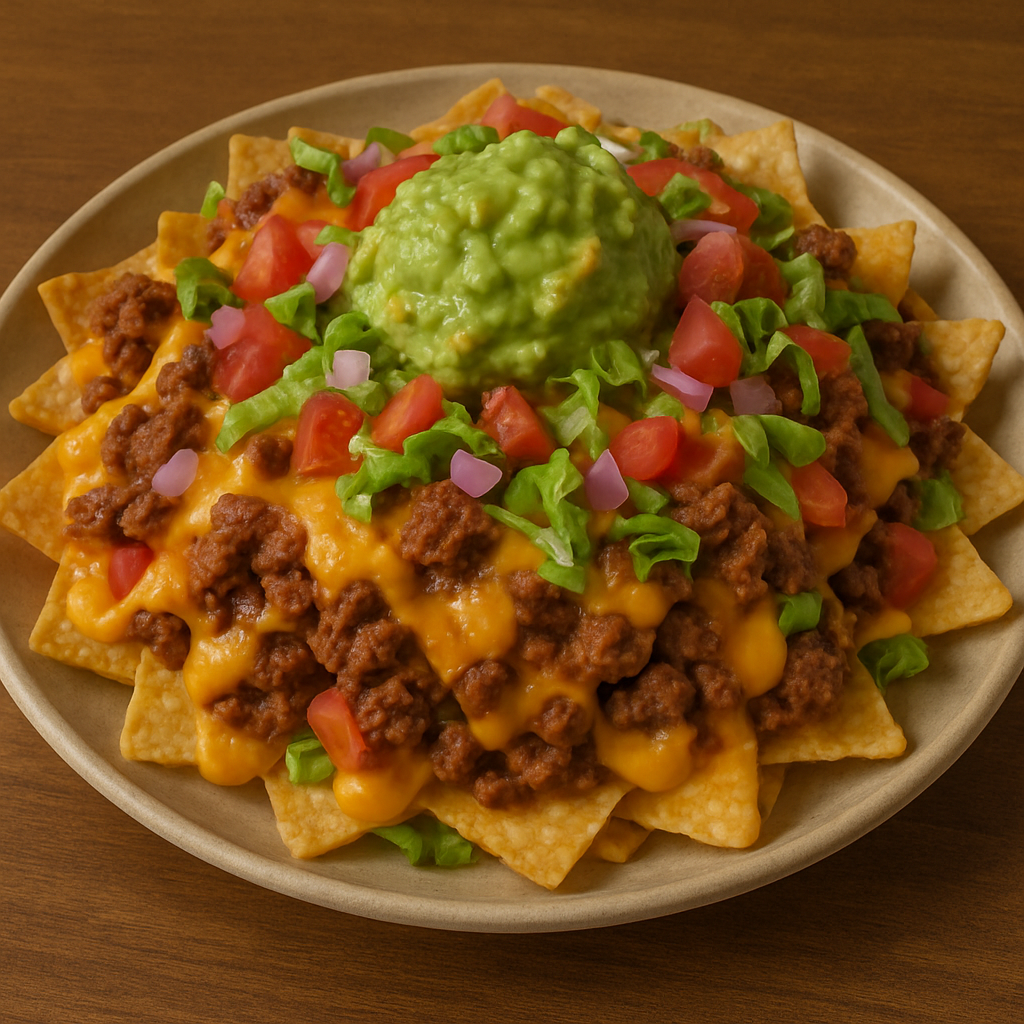
Turn these tots into a full meal by topping them with melted cheese, bacon, sour cream, and green onions for loaded tot nachos. Serve them alongside breakfast sandwiches, eggs, or pancakes. Pair with dipping sauces like ranch, spicy mayo, cheese sauce, honey mustard, or chipotle aioli.
Storage and Reheating
Store cooked tots in an airtight container in the fridge for up to 4 days. Reheat in the oven or air fryer to bring back the crisp texture. You can also freeze uncooked tots on a tray, then transfer them to a freezer bag and keep for up to 2 months.
Final Thoughts
There’s something incredibly satisfying about making tater tots from scratch—they’re simple, nostalgic, and totally customizable. Whether you serve them crispy and plain with ketchup or get creative with toppings and sauces, they’re guaranteed to steal the spotlight on any breakfast plate or appetizer board. And once you get that first crunch, you’ll never want to go back to frozen again.
Stick around—every visit tastes better than the last at The Buttered Bliss.
Related Posts