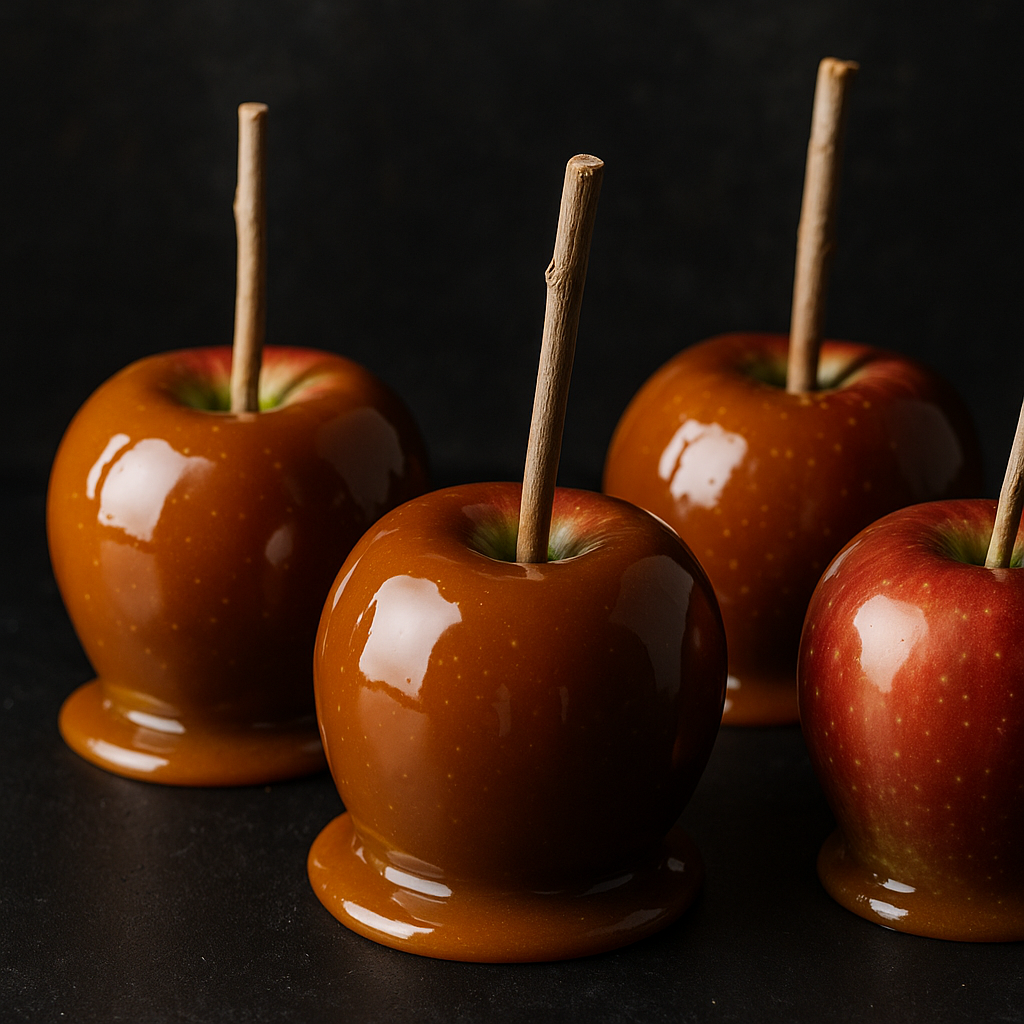
Caramel Apples are the ultimate nostalgic fall treat—crisp, tart apples dipped in rich, buttery caramel and finished with your favorite toppings. Whether you grew up getting them from the county fair or making them on Halloween night, nothing beats the satisfying crunch of biting into a caramel-coated apple. These homemade versions are silky-smooth, chewy but not sticky, and just the right balance of sweet and tart. With real ingredients and a quick stovetop caramel, these apples come together fast and harden with a beautiful golden gloss. Decorate them with nuts, crushed candy, chocolate drizzle, or sea salt to make every one feel like a special fall treat.
Why You’ll Love These
They’re made from scratch with no corn syrup or store-bought wraps. The caramel is thick, rich, and sticks perfectly to the apples. You can customize the toppings and even make mini versions with apple slices. These are perfect for gifting, parties, fall festivals, or just treating yourself to a cozy homemade dessert. Plus, they make your kitchen smell like a candy shop.
Ingredients
• 6 small to medium tart apples (like Granny Smith or Honeycrisp)
• 1 cup heavy cream
• 1 cup brown sugar
• ½ cup light corn syrup
• ½ cup unsalted butter
• ½ tsp vanilla extract
• Pinch of salt
• Toppings (optional): chopped nuts, mini chocolate chips, crushed cookies, sea salt
Instructions
- Wash and thoroughly dry apples. Remove stems and insert wooden sticks into the tops. Chill apples in the fridge while you make the caramel.
- In a medium saucepan, combine heavy cream, brown sugar, corn syrup, and butter. Cook over medium heat, stirring constantly, until butter melts and mixture comes to a boil.
- Continue cooking, stirring occasionally, until caramel reaches 245°F on a candy thermometer (firm-ball stage), about 8–10 minutes.
- Remove from heat and stir in vanilla and salt. Let caramel cool for 5–7 minutes to thicken slightly.
- Working quickly, dip each apple into the caramel, turning to coat. Let excess drip off, then place on a parchment-lined tray.
- Immediately add toppings if using. Let caramel set for 30–45 minutes at room temperature before serving.
Tips for Success
Chill your apples first—the cold helps the caramel stick. Make sure apples are fully dry or the caramel will slide off. Use a candy thermometer for perfect texture. If the caramel gets too thick while dipping, reheat it gently. Use parchment or wax paper for easy release.
Flavor Add-Ons
Dip the finished apples into melted chocolate after caramel sets for a double-dipped treat. Add a dash of cinnamon or maple to the caramel for warmth. Use different apple types for color contrast and tartness. Roll in graham cracker crumbs for a pie-like flavor twist.
Storage
Store caramel apples in the fridge for up to 3 days. Let sit at room temp for 10–15 minutes before eating to soften the caramel. Wrap individually in cellophane or wax paper for easy gifting.
Final Thoughts
Caramel Apples are a fall classic that never goes out of style. With glossy homemade caramel and crisp, juicy apples, they’re the kind of dessert that brings joy in every sticky-sweet bite.
Stick around—every visit tastes better than the last at The Buttered Bliss.
Related Posts